Your Complete Guide to Printing and Cutting Sticker Sheets From Start to Finish
Buckle in, this is gonna be a long post to get you ready to make your own sticker sheets at home. Why am I sharing my secrets? Because this isn’t giving away products, my sticker sheets are still made with my original art and put together by me for you. This is giving away just the process!
If you want to make sticker sheets for yourself or even for your own small business, this comprehensive post will take you through what you need to know to create a sticker sheet using the tips and tricks I’ve learned along the way.
You’ll want to check out this blog post first to see what software we’ll be using to make sure we’re on the same page. This article assumes you have an iPad, a printer, and a Cricut cutting machine, but even if you don’t have this exact equipment, chances are that you can modify it to make it fit your equipment!

More of a visual person? Check out the video I made on Tiktok:

Getting Prepped
Canvas Sizing
At the time of this writing in March 2025, Cricut Design Space will say the maximum print and cut size for a rectangular image is 6.74” x 9.26”, however I’ve found that it will print and cut 6.77” x 9.27” without an issue.
 |
 |
Knowing this information, you can determine your canvas size for your sticker sheet. I set mine up so I can fit 3 sticker sheets stacked across the page, each sticker sheet measures 6.5” in height and 3” in width. This gives enough extra space between the sticker sheets so they don’t overlap.
If you’re looking to fit 4 sticker sheets on one page, you can try sizing your canvas to something like 3.35” x 4.62”. Make sure you’re setting your canvas to 300 DPI for clear images!
 |
 |
Get Your Art
If you drew the art you want to make into a sticker sheet, copy and paste the art into your sticker canvas you just created.
If you are using downloaded images, import them into your sticker canvas.
 |
 |
If you’re using Procreate, make a duplicate of your art/images. By the time you’re ready to make the sticker sheet, the images will have been transformed (rotated and/or moved) a bunch of times which causes a loss in quality.
Creating Your Sticker Sheet
Arrange Your Art
Once your images are on your canvas, start arranging them! If you want to include your logo or a title, make sure to leave some space across the top for that.
Once you’re happy with the placement, it’s time to test whether Cricut can cut the stickers out individually.
 |
 |
Sticker Borders
This will unfortunately be the most tedious part.
Export your sticker sheet from Procreate without a background as a PNG. Open up the website photopea.com. This website is like having Photoshop in your browser!
In Photopea, make sure your art layer is selected, click on the “Layer” menu, tap on “Layer Style” to open the submenu, and tap on “Stroke”.
 |
 |
The Stroke property adds a border to your stickers. You can choose how thick or thin of a border you want your stickers to have, but I generally don’t go any smaller than 20 px. You can also choose your border color - I typically leave it as white. The rest of the options should be left as is.
Under the “File” menu, select “Export As” to export your image as a PNG file.
Test in Cricut Design Space
Import your image of your stickers with a border into Cricut Design Space as normal. Once imported, tap on your image and select the “Contour” option. This will bring up a window to let you select which pieces of your image will show up and which will be hidden.
The important thing to check for here is that when you tap each of your stickers, only one sticker is hidden/unhidden. You want to avoid multiple stickers being hidden/unhidden because that will mean that your stickers are too close to each other and that your Cricut will not be able to cut around each sticker individually.
 |
 |
You’ll have to go back to your sticker sheet on Procreate and continue to rearrange your stickers and repeat this testing process until none of the stickers touch in the contour menu on Cricut Design Space.
Finalizing Your Sticker Sheet
Last Minute Tweaking
Once you’re happy with the positions of all your stickers, if your stickers are looking a little fuzzy or out of focus, use the fuzzy stickers as a guide and use the images you duplicated at the beginning for a cleaner sticker.
Export, add a sticker border, and test in Cricut Design Space one last time. You’re almost ready to make your sticker sheet!
Don’t Forget to Make Your Backing
Making a backing is pretty simple. In Procreate, create a new layer and fill it with white. If you want sharp corners, then you’re done!
If you want rounded corners, you can follow the steps below:
- Create a new layer and make a small circle
- Move it one of the four corners
- Inverse select the circle
- Return to your background layer
- Use the eraser tool to erase the backing corner outside of the circle
- Repeat for each corner
 |
 |
TIP: Add a dot to opposite corners on the stickers layer small enough to be off of the backing sheet but big enough to hit the actual corner of the canvas. This will allow you to know exactly the size of your sticker sheet instead of guessing what size it’s supposed to be on Cricut Design Space. This tip only works with rounded backing corners.
 |
 |
Now you can add a title and your logo!
Export your backing without the stickers as a PNG file. Export your stickers without the backing as a PNG file.
Print and Cut
Import both the backing and the stickers into Cricut Design Space as usual. Remember the size of your canvas? Use these dimensions when resizing your imported images.

Create a square shape and add it to your canvas. Size the square into a rectangle of max width and height, at the time of this writing 6.77” x 9.27”.
Duplicate your backing and your stickers as many times as will fit on the rectangle, I size my sheets so I can fit 3 per sticker paper. If you are doing 4 sticker sheets, then make 4 copies.
Using the align tool, align your backing and sticker sheet to the rectangle. If you’re fitting 3 sheets, align one set to top, one to bottom, one to center and align all to left. If you’re fitting 4 sheets, align one set to top right, one to top left, one to bottom right, and one to bottom left.
Delete or hide the rectangle. Select the rest of the layers and attach them.
 |
 |
Since I use unlaminated sticker paper, I use the Sticky Note cut setting with less pressure. The cut setting you choose will depend on your material so make sure you test on a scrap piece of sticker paper.

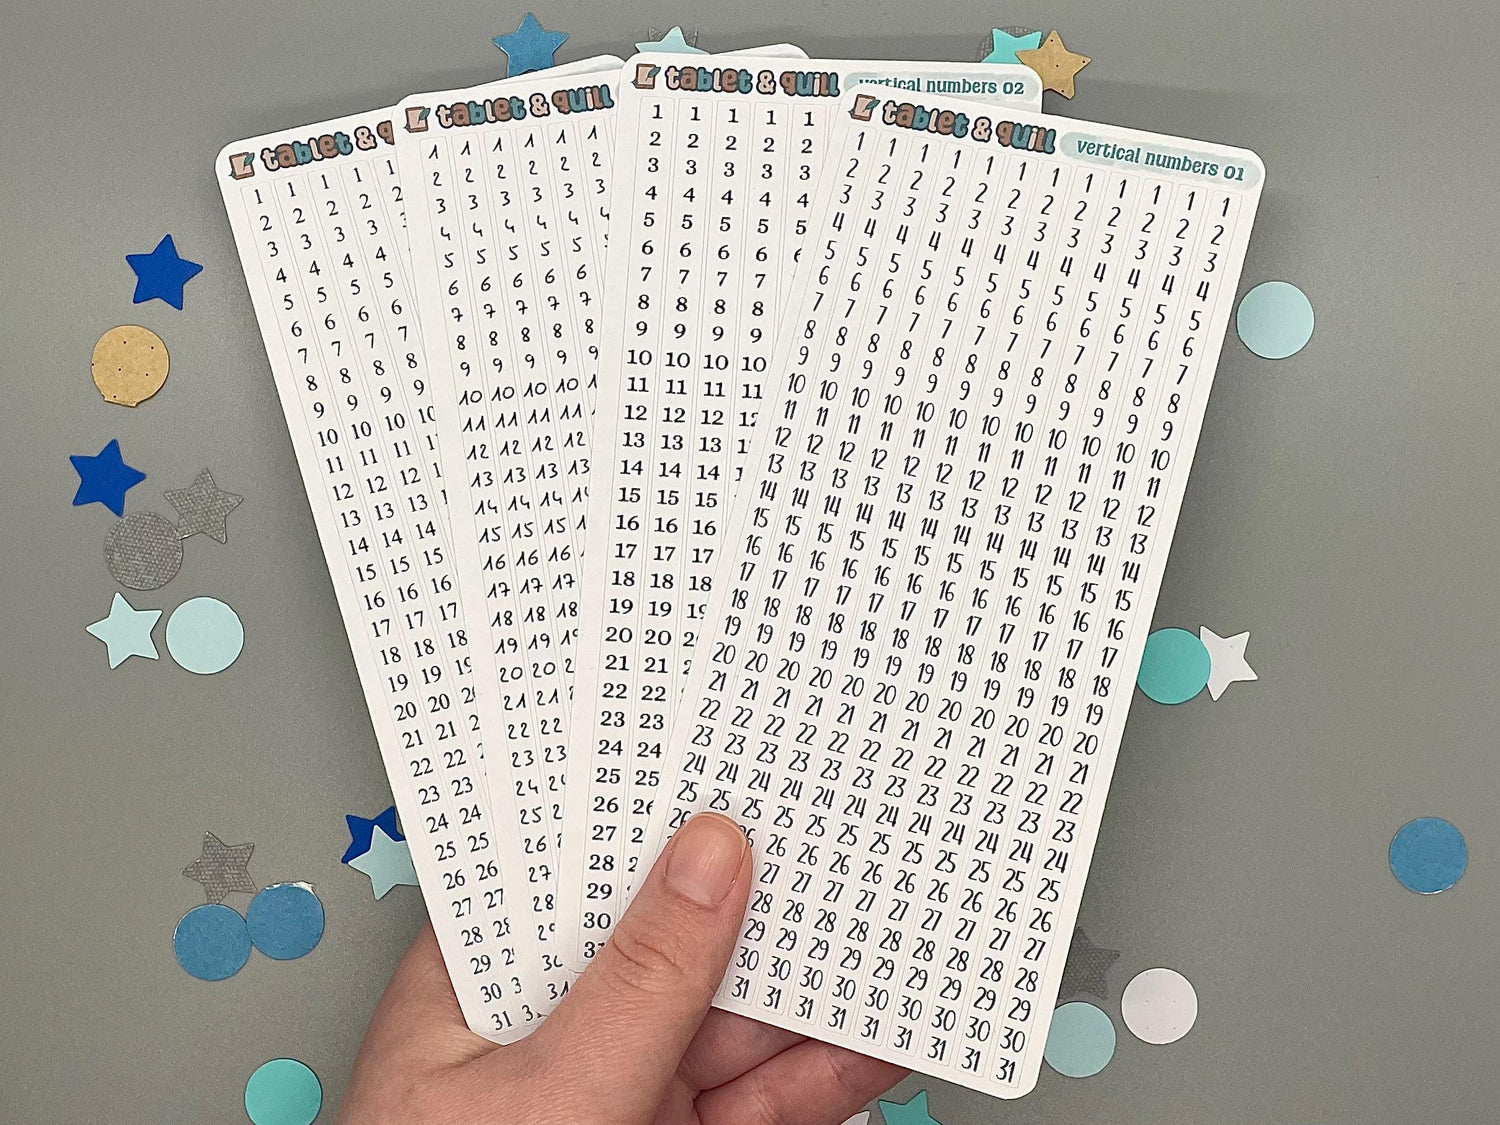
Liked the stickers featured in this article? Check out the dappled koi stickers here!
You Did It!
Once you do this process a few times, it really isn’t as bad as it looks. You may find other ways to shorten the process which will simplify your sticker making even more. That’s the beauty of making things yourself is that you can always make the process something that makes more sense to you!
Have any questions about my process? I would love answer them! And if you make sticker sheets, please tag me on social media (TabletAndQuill on TikTok, Instagram, and Facebook)!
Loved this post? Share it on Pinterest!