Ready to Begin Your Bullet Journal Journey?
Ready to get started with bullet journaling? Anyone can start a bullet journal at any point in the year, but it’s the new year! So this is the perfect time to get into the habit of using a new journal. And while there is so much information out there, it’s best to start out simple!
In this post, we’ll chat about what supplies you’ll need and some common journal spreads to get started with. So let’s get going!

I get a little something if you buy through the links in this post, no extra cost to you! I only recommend products I've personally used and love!
What supplies do I need for bullet journaling?
You may have seen some beautiful spreads on the internet, but to get started, you’ll need only two things!
One: A journal or notebook
It doesn’t matter if you use a 50¢ composition notebook or a $50 journal. Your notebook or journal can be dotted, lined, or blank. As long as you can write in it, it all ultimately serves the same function!
My favorite?
Archer & Olive journals. They have thick bright white dotted paper that makes writing and colors pop and they have so many cover designs! The downside? It can be a bit of an upfront investment.
My favorite economical options?
Both of the brands Vivid Scribbles (affiliate link) and String & Space (affiliate link) are very comparable to Archer & Olive in terms of thick bright white dotted paper. I have personally used both of these brands and like them a lot! The downside? They’re more limited in cover designs.
Two: A writing utensil
Again, it doesn’t really matter what kind of writing utensil it is. Pens, pencils, markers, it’s all fair game! Pick something that feels comfortable in your hand.
My favorite?
Zebra Sarasa Clip 0.4 gel pens (affiliate link), I just love how smooth these pens write and how thin the stroke is!
My favorite economical option?
The standard ballpoint pen! Tried and true, it works exactly how you expect it to.

Of course, you don’t have to be limited in using just these two items. If you’re looking to add some color and decoration to your bullet journal, here are just a few options:
Markers
You can get Crayola Super Tips (affiliate link) at any department or craft store, I’ve personally had my 50 pack set for close to 15 years! Crayola Super Tips are economical, last a long time, and have a great variety of colors, including some colors that are pastel enough to use as highlighters! Even better, the nibs are flexible so they can also be used for handlettering practice.
Washi tape
I’ve tried many over the years, but I find myself reaching for my thin colorful washi tape set (affiliate link) and my grid washi tape set (affiliate link) the most, I like how they match pretty much any decorative elements I add to my journal.
Stickers
I would be doing myself a disservice if I didn’t mention stickers! Stickers are my top used stationery item, I love that I’m able to have cute designs without spending the time drawing them all and letting my perfectionism create a time sink. These stickers are the ones I’ve created myself, but stickers are available pretty much anywhere! If you are purchasing sticker packs online, just be on the lookout to see if the styles are pretty different within the pack. A big variety of styles points to possible theft from other artists.

Got my stuff, now what do I put in my bullet journal?
The best (and worst) thing about bullet journaling is how versatile it can be. What works for me might not work for you. But that doesn’t mean we can’t get the ball rolling with the basics!
The Key
The official Bullet Journal Method starts with a key and an index. The first step with a key is to decide what symbols you want to use to represent different things. Below is an example where a to-do has a square to check off, an appointment has a triangle, and so on.

These are the symbols that made sense to my brain, but traditionally bullet journaling uses a bullet for a task and that bullet gets turned into an X if completed, crossed out if cancelled, or turned into an arrow with the > symbol if moving the task to another day.
The Index
Next up is an index which is quick to set up. All you have to do is label a page (or two!) as “Index” and then fill it in as you fill out your journal! It’s helpful to write down pages that you want to reference later, especially if you throw in a notes page or something similar in the middle of the regular logging pages.

If the journal or notebook you’re using doesn’t have numbered pages, you can number them yourself to use in the Index.
Future Log
Now we can add a Future Log. A future log is an area where you can write down future events. Most people don’t set up a bullet journal far in advance, so we need a place to write down upcoming events and appointments.
There are a few different options to set up a future log, I'll describe a few of them.
Style 1
List the months and leave some space for the events and appointments. Since there are no dates here, the events and appointments will probably end up being out of order as you write them.

Style 2
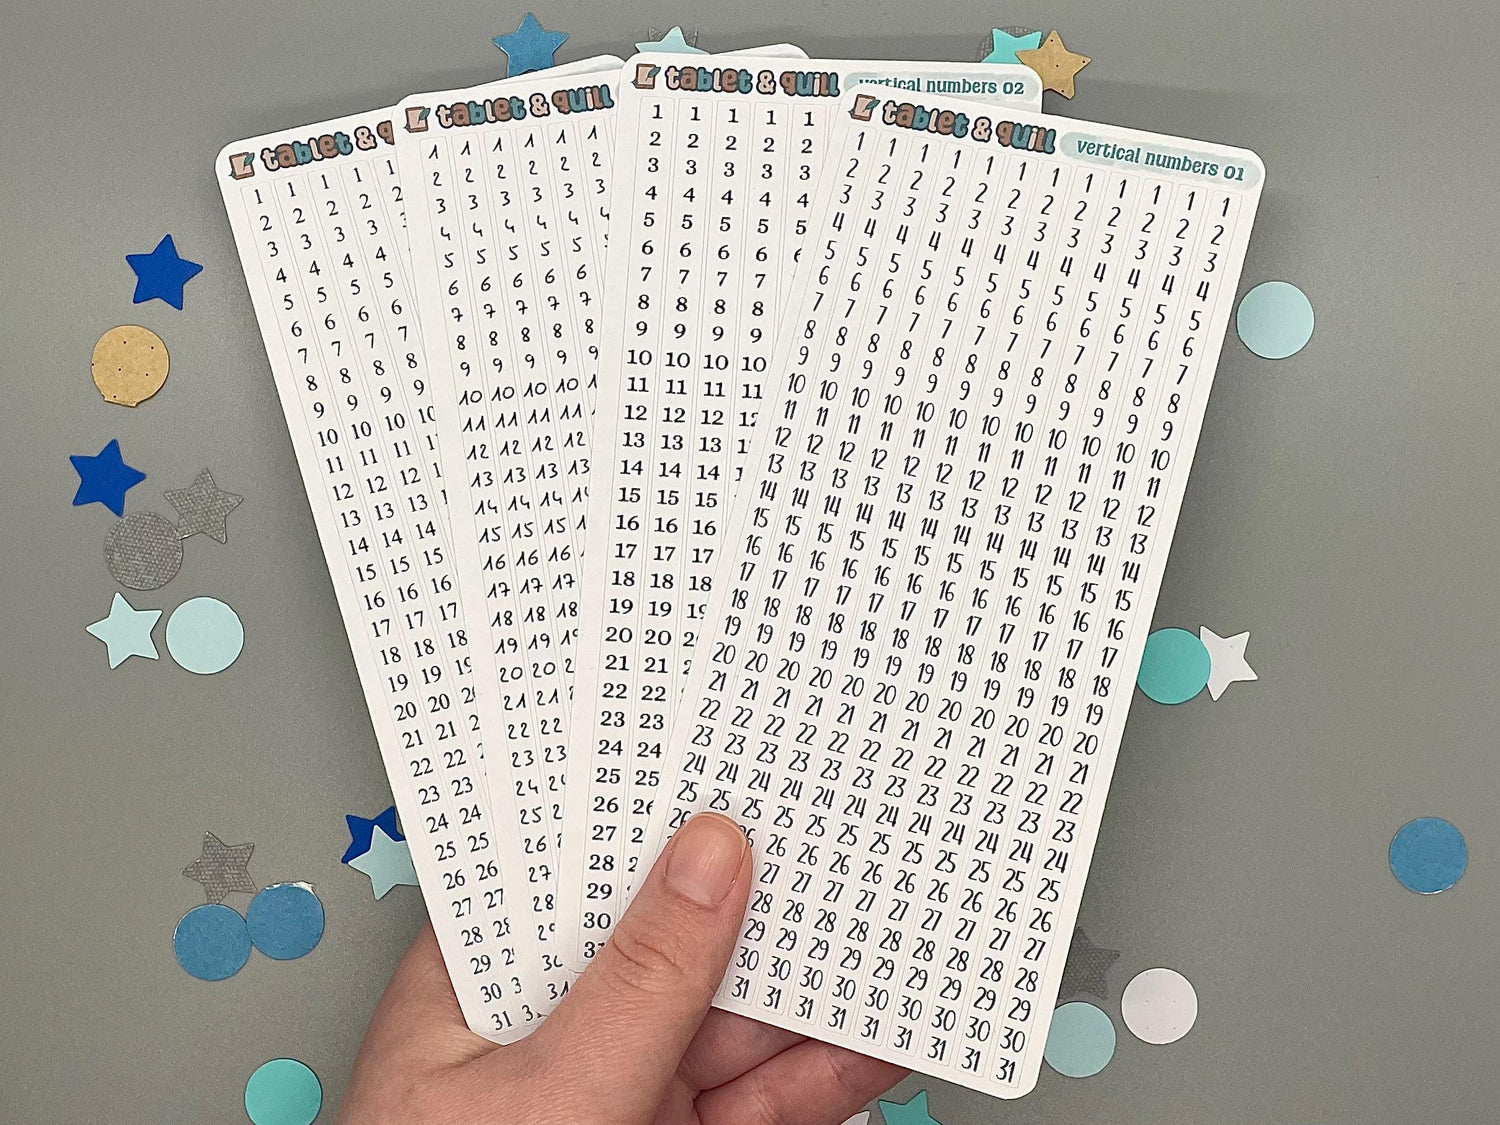
Write out the dates so the future log functions as a calendar reference too. Leave space either next to or below each mini calendar for the events and appointments (bonus tip: print out or buy stickers to make this process faster!

Style 3
List the months across the top and the numbers 1-31 down the side of a page. Write down events on the appropriate days. While the example below has 6 columns on one page, it might be better to space it out more so there's more room to write.

And I’m sure there are more ways!
The important part is to choose a Future Log setup that makes sense to you and that you want to use it.
Monthly Spreads
With the Bullet Journal method, the monthly spread is straightforward. The month is the header for the page and then similar to Future Log #3 from above, the dates are written vertically down the side.
These can be used to write down your events, appointments, bill due dates, and other things you want to keep track of.

On the next page, make a to do list for the items that need to be done that month, but not on a specific day. I usually have some monthly chores that have flexible “due dates” on my monthly dashboard.
Weekly and Daily Spreads
Weekly spreads are super common in the bullet journal community, but they’re not actually a part of the Bullet Journal Method! That’s because the daily spreads (in combination with the monthly spread and future log) are the backbone of the method.
Setting up is quick, all you have to do is write the day and date and you’re ready to use it. Write down any tasks you need to do on this day and use your key to mark what’s done and not done.
For the items that don’t get done, you can roll them over to the next day with what the Bullet Journal Method calls Migration. Migration means to migrate or move a task! It’s usually represented as >, an arrow symbol. If you find yourself migrating a task over and over again, it’s worth examining if that’s a task you want to get rid of or prioritize.

And Now You're Ready To Bullet Journal
Setting up a bullet journal using the original Bullet Journal Method isn’t too bad or time consuming! A new bullet journal could be set up and ready to use within half an hour, making it an excellent and flexible tool.
This was a very introductory overview, so feel free to check out the official Bullet Journal website for the complete method.
There are so many ways that a bullet journal can be jazzed up though, so stay tuned for fun ways to be creative with your bullet journal.